Deploy with Helm Chart
This document will guide you in detail on how to deploy the Wordpress application using Rainbond's Helm feature.Rainbond supports various Helm deployment methods, and you can choose the most suitable one according to your actual needs.
Preparation
Before starting the deployment, please ensure the following conditions are met:
- Understand the conversion principle from Kubernetes resources to Rainbond application model
- Have platform management permissions
- Available Helm repository (this article takes Rainbond official repository as an example)
Helm repository docking and deployment
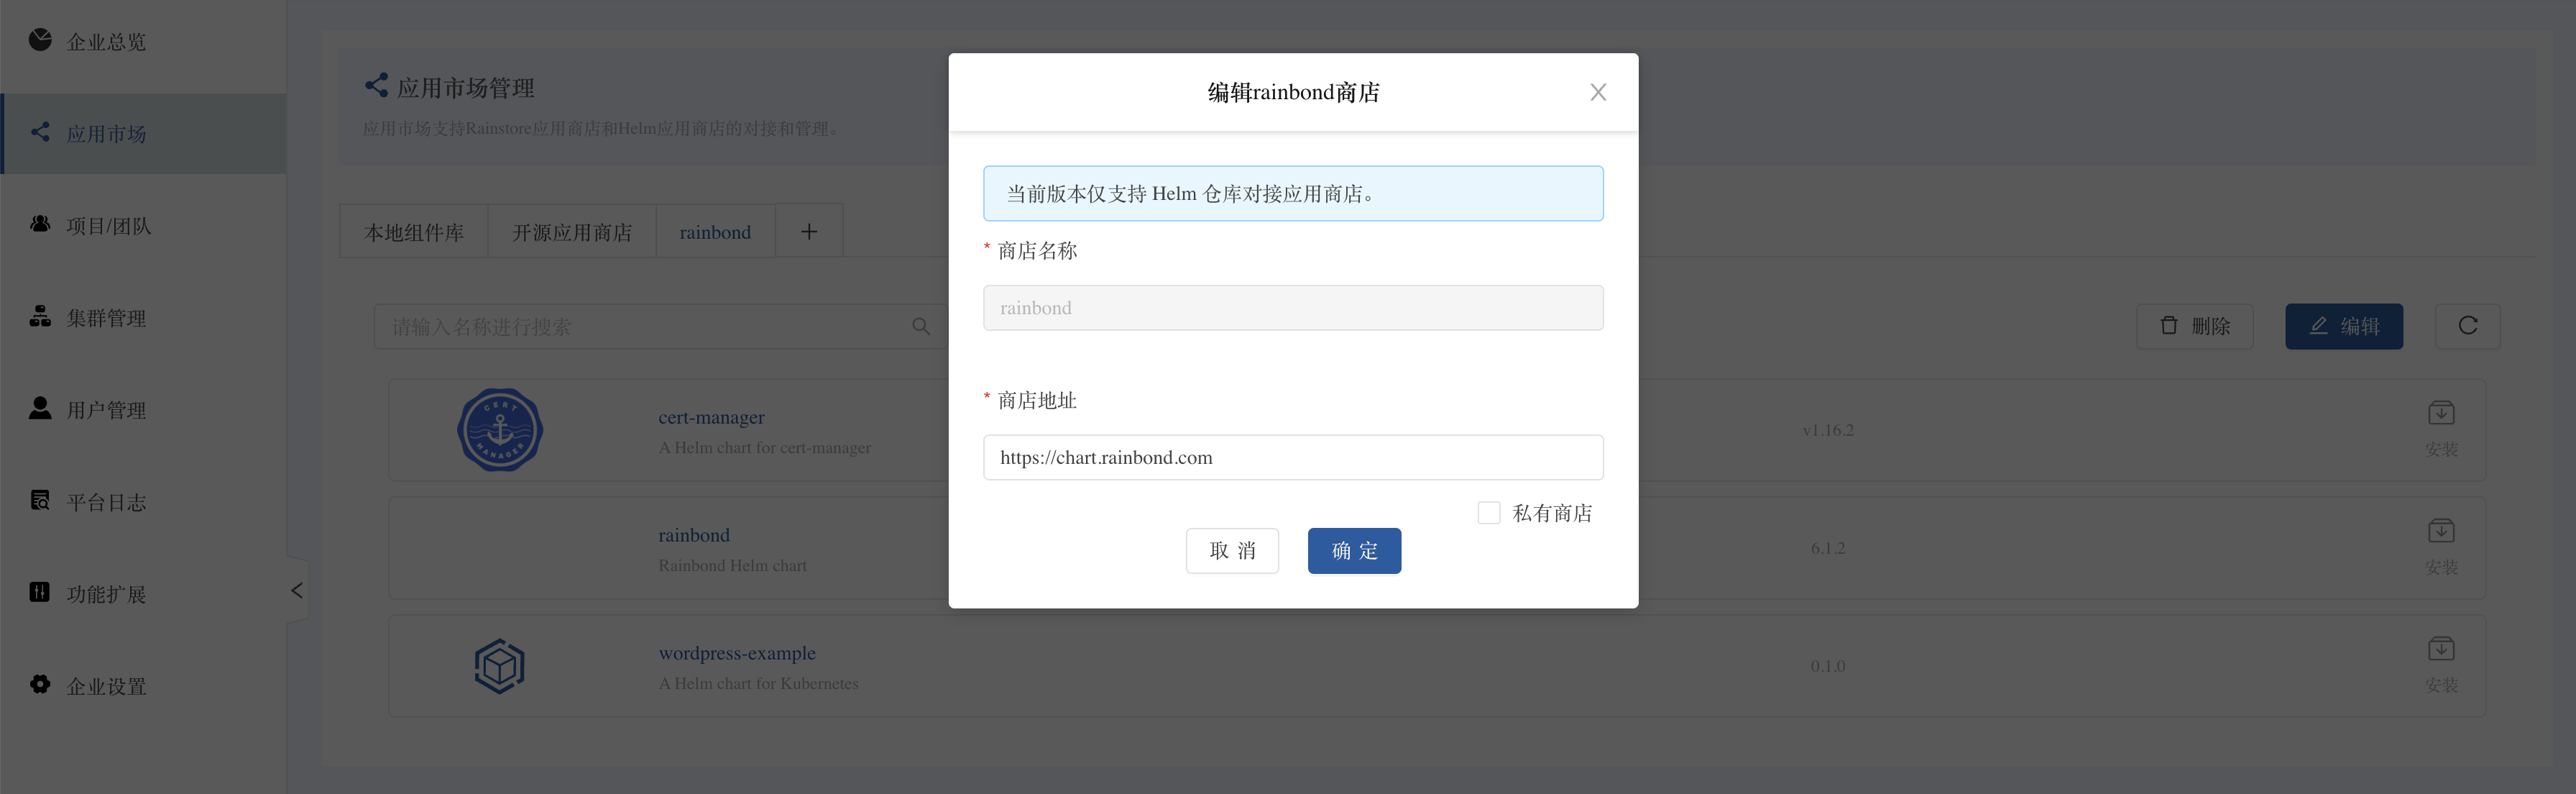
1. Dock Helm repository
- Go to Platform Management → Application Market → Add Helm Store
- Fill in the following information:
- Store name:
rainbond - Store address:
https://chart.rainbond.com
- Store name:
- Click Confirm to complete the repository addition
2. Deploy applications through Helm store
2.1 Access Helm store
You can access the added Helm store in two ways:
- Method one: Platform Management → Application Market → Helm Store
- Method two: In the target team, select New Application → External Application Market → Helm Store
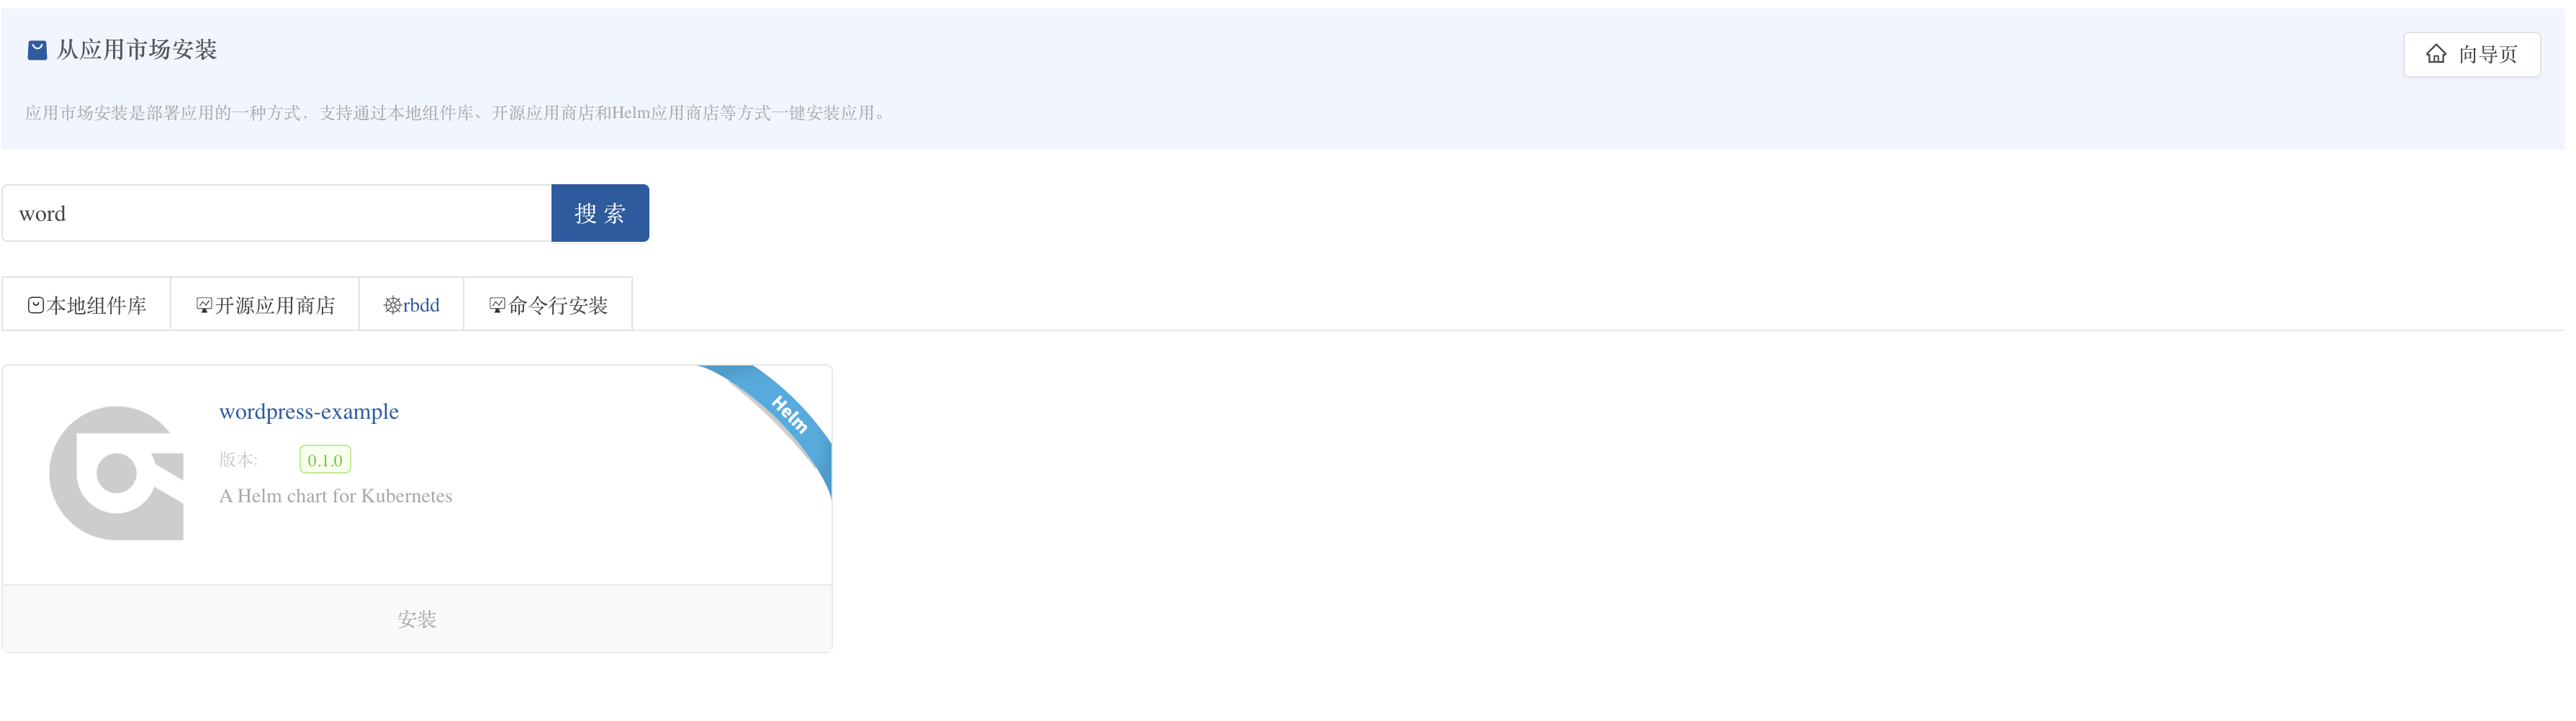
2.2 Deploy Wordpress application
- Search for
Wordpressin the Helm store - Click the Install button to start the deployment process
2.3 Application package verification
Rainbond will automatically perform the following checks:
- Download the application package from the Helm repository
- Check the compatibility of the application package version
- Analyze resources and convert them into Rainbond application model
2.4 Configure Value parameters
On the Values configuration page, you can:
- Modify default parameters, such as
image.repository=wordpress,image.tag=latest
3. Deploy applications through Helm commands
If you are familiar with Helm CLI operations, you can choose this method:
-
Go to the target team, select New Application → Kubernetes YAML/Helm → Helm, choose the Command method
-
In the command input box, enter the following Helm command:
helm install wordpress rainbond/wordpress-example
wordpress: Specify the name of the application after installationrainbond/wordpress-example: Specify the Chart in the Helm repository
-
Click Submit to start deployment
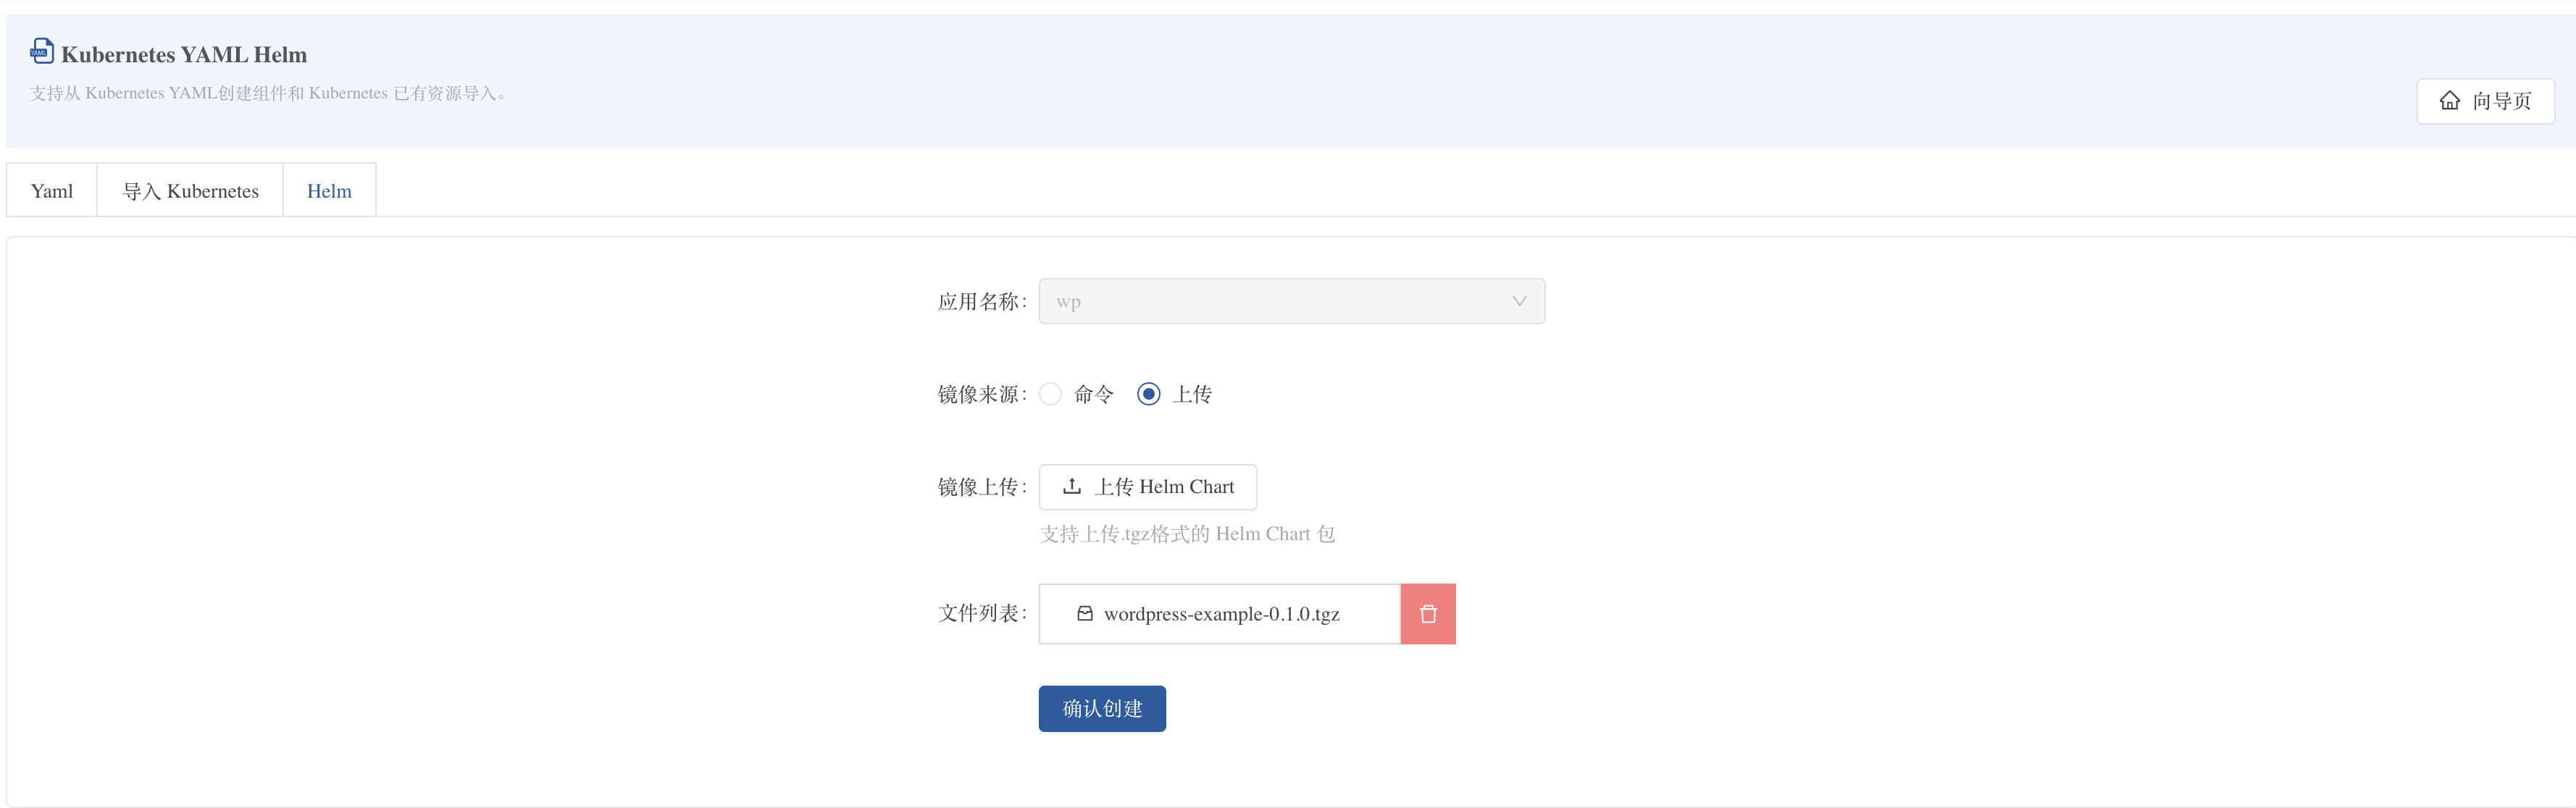
4. Deploy applications by uploading Helm packages
If you have a custom Helm package or need to use a Chart not in the Helm repository, you can choose the upload method:
- In the target team, select New Application → Kubernetes YAML/Helm → Helm, choose the Upload method
- Click Confirm Creation
Application configuration optimization
Persistent storage configuration
Storage resources defined in Helm Chart (such as EmptyDir) can be optimized in Rainbond:
- After import, the
volumeMountsandvolumesconfigurations in the original Helm Chart will be saved in the component's Other Settings > Kubernetes Properties - For data that needs to be persisted (such as WordPress content and MySQL data), it is recommended to use Rainbond's storage function:
- Delete the corresponding
volumeMounts/volumesentries in Kubernetes properties - Go to the component's Storage > Storage Settings > Add Storage
- Add the corresponding persistent path
- For example, MySQL's
/bitnami/mysql/data. - For example, WordPress's
/bitnami/wordpress.
- For example, MySQL's
- Delete the corresponding
Gateway configuration
After deployment is completed, you need to configure the access entry for WordPress:
- Go to the WordPress component details page.
- Switch to the Port tab.
- Enable External Service for WordPress's HTTP port.
Troubleshooting
Here are some common problems and solutions you may encounter when deploying WordPress applications:
- Image pull failure: Check if the image repository address is correct and confirm the network connection is smooth
- Database connection error: Verify if WordPress's database connection environment variables are correctly configured
- Insufficient resources: Check if the cluster resources are sufficient and adjust the resource limits appropriately